How to Add a Countdown Timer to the Shopify Thank You Page
Learn how to add a countdown timer to the Shopify Thank You Page and use time-sensitive offers, discounts and relevant products to drive post-purchase engagement.
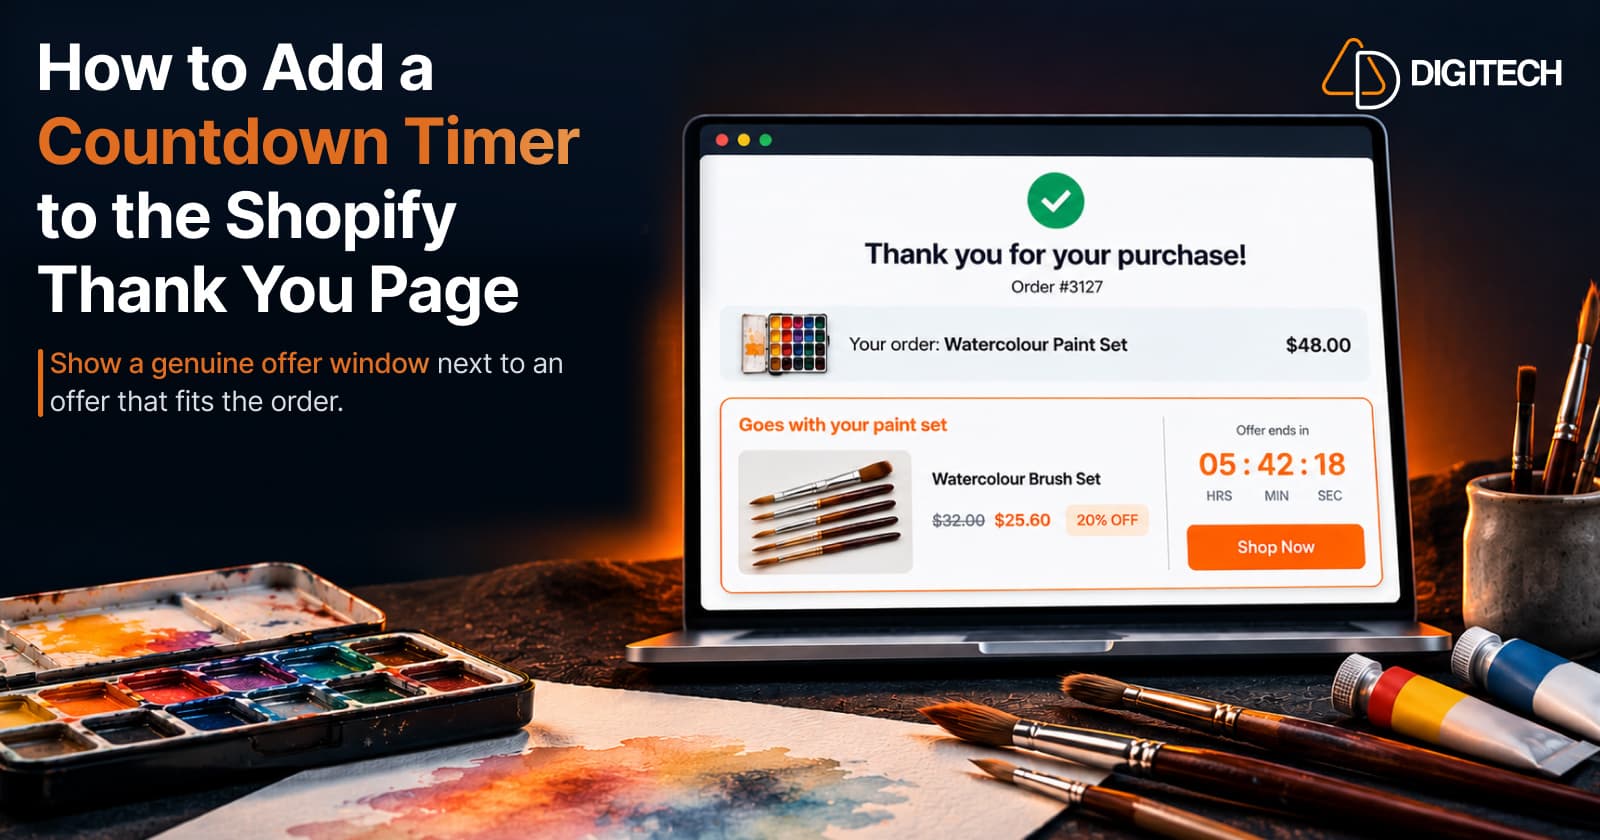
A customer has just paid and is looking at the order confirmation. It's one of the few moments when a store has their full attention and no checkout friction left.
A countdown timer is one way to use it. Placed next to a relevant offer, it tells the customer exactly how long that offer is available. But the original checkout is already complete. A timer on the Thank You Page doesn't change that order; it invites a separate, additional purchase or action. This guide covers how countdown timers work on the Thank You Page, what to pair them with, how to add one, and how to keep the urgency honest.
What Is a Shopify Thank You Page Countdown Timer?
A Shopify Thank You Page countdown timer is a block that shows the time left on an offer, in hours, minutes and seconds, on the page customers see right after checkout.
Shopify describes the Thank you page as the initial purchase confirmation shown after checkout. If a customer returns to it later, they see the Order status page instead. That has two consequences for a timer:
- The Thank You Page is seen once. A timer there is in front of the customer for that one visit.
- The Order Status Page is where they come back. If the offer runs for days, it can also appear there, so a returning customer can still find it. Our guide to the Thank You Page vs Order Status Page explains the difference.
A timer never stands alone. It belongs to an offer: a product, a discount or a bundle. The timer communicates the window; the offer has to be worth taking. Both depend on relevance to what the customer just bought.
Why Use a Countdown Timer After Checkout?
A countdown timer makes a time limit visible. Used with a genuine offer, it can:
- Create a clear time window. "20% off until midnight" is easier to act on than "limited time".
- Prompt action while the customer is still engaged. The purchase is fresh, so a matching accessory makes sense now.
- Support upsells and cross-sells. A timer can sit next to an upsell or a complementary product.
- Give a reason to return. A coupon with a clear end date gives customers a reason to come back before it expires.
A timer doesn't increase revenue or conversions by itself. It makes a real deadline visible. If the offer isn't relevant or the deadline isn't real, the timer won't fix that.
What Should You Offer With a Countdown Timer?
The best pairing is something that obviously goes with the order. Good candidates:
- Complementary products: items used alongside the purchase.
- Accessories: small, inexpensive add-ons.
- Consumables and refills: things the customer will run out of.
- Product bundles: two or three related items at one price; see Thank You Page product bundles.
- Relevant upsells: a better version of a related item, not of what they just bought.
- Limited post-purchase discounts: a coupon for the next order, with a fixed end date.
Some examples:
| Customer bought | Offer with a timer | Why it fits |
|---|---|---|
| Running shoes | Running socks or a shoe-care kit at 15% off | Used with the shoes from day one |
| Coffee machine | Coffee beans or filters at a launch price | Needed as soon as the machine arrives |
| Watercolour paint set | A brush set and watercolour paper as a bundle | Completes the kit for the first painting |
These are illustrative examples, not benchmarks.
Choosing the product is covered in how to add product recommendations.
Countdown Timer vs Regular Discount Offer
A countdown timer is a way of displaying an offer's time limit. It isn't a different kind of offer.
| Offer type | What the customer sees | When it fits |
|---|---|---|
| Regular post-purchase offer | A product or discount with no stated deadline | Evergreen add-ons, always-on recommendations |
| Discount with a fixed expiry | A code or price with an end date, such as "valid until Sunday" | Next-order coupons, seasonal promotions |
| Countdown timer attached to an offer | The same deadline, shown as time remaining | Short, genuine offer windows the customer should notice |
There are two ways a timer can count down:
- To a fixed deadline. Every customer sees the time left until the same moment, such as the end of a weekend sale. This is the simplest to keep honest: in Shopify, a discount can have start and end dates, so set its end date to the same moment.
- For a window per customer. Each customer sees, say, 24 hours from their own order. This is only honest if the discount also expires for that customer at that point. A single Shopify discount code with one end date doesn't do that on its own, so check how your app handles it before showing a per-customer timer.
Either way, the timer should communicate a genuine offer window. If the price is the same after the timer ends, the urgency is artificial.
How to Add a Countdown Timer to the Shopify Thank You Page
On today's Shopify checkout, the Thank You Page is customized with app blocks in the checkout and accounts editor, not with theme code. Shopify's documentation describes how to add and arrange app blocks; the countdown timer itself comes from an app such as Grovia.
- Install an app that provides a timer block. In the Shopify App Store you can filter apps by Refine > Customizes checkout.
- Open the editor. Go to Settings > Checkout in your Shopify admin to open the checkout and accounts editor.
- Choose the Thank you page from the page selector.
- Add the countdown block. Use the Sections sidebar (Add block) or the Apps sidebar, then position it near the top, after the order confirmation.
- Connect it to an offer. Place it next to a product recommendation, upsell or coupon block, so the timer clearly refers to that offer.
- Create the discount in Shopify if the offer includes one. Amount-off discounts can apply to specific products, be limited to one use per customer and have an end date. Match that end date to the timer.
- Set the duration or end time in the app's block settings.
- Write the message and button. Say what the offer is and when it ends, with a button such as "Shop Now".
- Preview the page in the editor, on desktop and mobile.
- Test it as a customer.
- Preview the extension in Shopify's checkout and accounts editor.
- Test the complete customer journey using Shopify's test mode or a test payment method when available.
- Verify that the countdown timer displays correctly, the offer link works and the discount applies as expected.
- Check the experience on desktop and mobile.
- Avoid placing a real paid order solely for testing when a suitable test method is available.
No theme or checkout code is involved: the timer is an app block you place and configure in the editor.
How Long Should a Thank You Page Countdown Timer Run?
There's no universal best duration. The right window depends on the offer:
- Product type. An inexpensive accessory can be decided on in minutes. A larger item needs more time.
- Offer value. A small add-on suits a short window; a significant discount may justify a longer one.
- Buying cycle. A refill that's needed in a month shouldn't expire in an hour.
- Discount size. A generous discount with a very short timer can feel like pressure.
- Immediate vs later purchase. An add-on to buy now and a coupon for the next order are different offers and need different windows.
A useful test is to ask whether the deadline matches a real reason. "Ends Sunday with the weekend sale" has one. "Ends in 9:59" usually doesn't.
Shopify Thank You Page Countdown Timer Best Practices
- Keep the offer relevant to the order. A timer can't rescue an unrelated product.
- Make the deadline clear. Show the time left and, where it helps, the end date.
- Show the offer next to the timer, with the product, the price and any discount.
- Use a strong but honest button. "Shop Now" or "Get the Brush Set" beats vague or pushy wording.
- Make it noticeable, not dominant. The order confirmation stays the main content.
- Avoid stacking urgency. One timer is enough; flashing colours and multiple deadlines add pressure, not clarity.
- Design for mobile first. Check that the timer and offer fit without pushing the confirmation away.
- Limit the choices. One offer, or a small bundle, is easier to decide on than several.
- Test offers and messages, one change at a time.
- State the terms. Say which products the discount covers and whether it combines with other discounts.
For the page as a whole, see Thank You Page optimization.
Common Countdown Timer Mistakes to Avoid
- Fake urgency. A timer that ends while the offer stays available undermines trust.
- A timer without a meaningful offer. Counting down to a generic "10% off something" gives no reason to act.
- Irrelevant products. A timer next to a product unrelated to the order looks like an ad.
- Too many competing elements. A timer, three offers, a survey and a banner fight for one glance.
- Confusing discount messaging. If the timer says 20% but checkout shows 15%, the customer stops trusting both.
- Poor mobile layout. A timer that wraps or overlaps the button looks broken.
- A timer that resets unexpectedly. Reloading the page shouldn't restart the clock.
- Pressuring the customer. Someone who has just paid shouldn't feel rushed into a second purchase.
How to Measure a Shopify Thank You Page Countdown Offer
Measure the offer, not just the timer. Useful metrics:
- Offer clicks: how many customers clicked the button.
- Add-to-cart actions: how many added the product, where your app or store reports it.
- Additional purchases: orders that came from the offer.
- Conversion rate: purchases divided by customers who saw or clicked the offer, depending on what your app reports.
- Revenue generated by those purchases.
- Discount usage in Shopify, to see how many orders used the code.
Start with a baseline: run the same offer without a timer, or record results before adding one. Then compare like with like, over similar periods. If clicks rise but purchases don't, the timer is creating curiosity, not interest. Also watch margin: a discounted add-on that would have sold anyway costs money.
How Grovia Adds Countdown Timers to the Shopify Thank You Page
Grovia is a Shopify app by AD Digitech that customizes the Thank You Page and Order Status Page with blocks you arrange in a drag-and-drop editor, with no coding and no theme changes.
Its blocks include:
- Countdown and coupon blocks, for discount codes with a visible time limit
- Product recommendations from sources you choose: manual picks, a collection, most-purchased items or complementary items
- Upsells and cross-sells
- Product bundles: fixed, mix-and-match and volume
- Images, banners, icons and trust badges
- Post-purchase surveys
To build a countdown offer, add a countdown or coupon block next to a recommendation or upsell for a product that fits the order, such as the brush set for a watercolour order. You choose the rules and the products; Grovia doesn't predict what an individual customer will buy or use AI to decide for you. Its built-in analytics dashboard tracks clicks, conversions, conversion rate and revenue.
Grovia works on the Thank You and Order Status pages. It isn't Shopify's native post-purchase page, which appears between payment and the Thank You Page and is a separate surface. Grovia's offers lead to a new purchase and don't change the completed order. For more ideas to combine with a timer, see Thank You Page offers, personalizing the Thank You Page and Thank You Page marketing.
Conclusion
A countdown timer on the Shopify Thank You Page is a small element with a narrow job: showing how long a genuine offer lasts. Pair it with something that fits the order, match the discount's end date to the clock, keep the page calm, and measure the purchases it leads to, not the clicks. Without a real deadline, a timer costs more trust than it earns.
Frequently asked questions
Can I add a countdown timer to the Shopify Thank You Page?
Yes, with an app that provides a timer block. You add it to the Thank you page in Shopify's checkout and accounts editor, next to an offer.
What should I offer with a Thank You Page countdown timer?
Something that goes with the purchase the customer just made: an accessory, a consumable, a care product or a small bundle, usually with a modest discount that has a real end date.
How long should a Shopify post-purchase countdown timer run?
There's no single right duration. A small add-on suits a short window, while a refill or later purchase needs longer. Whatever you choose, the discount behind the timer should expire at the same time.
Does a countdown timer change the original Shopify order?
No. The checkout is already complete. A Thank You Page countdown offer invites a separate, additional purchase and doesn't modify the order that was just placed.
Can a countdown timer be combined with a discount?
Yes, and it usually should be. Create the discount in Shopify, limit it to the products in the offer if needed, and set its end date to match the timer so the deadline is real.
Should I use countdown timers on mobile?
Yes, but test them there first. The timer, offer and button should fit on a phone screen without pushing the order confirmation out of view.
Can Grovia add countdown timers to the Shopify Thank You Page?
Yes. Grovia includes countdown and coupon blocks for the Thank You and Order Status pages, which you can place next to a product recommendation or upsell using its drag-and-drop editor.
Turn Your Thank You Page Into a Better Post-Purchase Experience
With Grovia, you can add relevant product recommendations, bundles, upsells, offers and post-purchase surveys to your Shopify Thank You Page — without coding.
Related reading

Shopify Thank You Page Marketing: 10 Ideas to Engage Customers After Checkout
Discover 10 Shopify Thank You Page marketing ideas to engage customers after checkout with recommendations, offers, bundles, feedback and useful content.
Read article
Shopify Thank You Page Offers: How to Create Post-Purchase Offers
Learn how to create Shopify Thank You Page offers with discounts, coupons, countdown timers and relevant promotions to drive additional purchases.
Read article
How to Personalize the Shopify Thank You Page for Each Customer
Learn how to personalize the Shopify Thank You Page with relevant recommendations, cross-sells, bundles, offers and post-purchase content.
Read article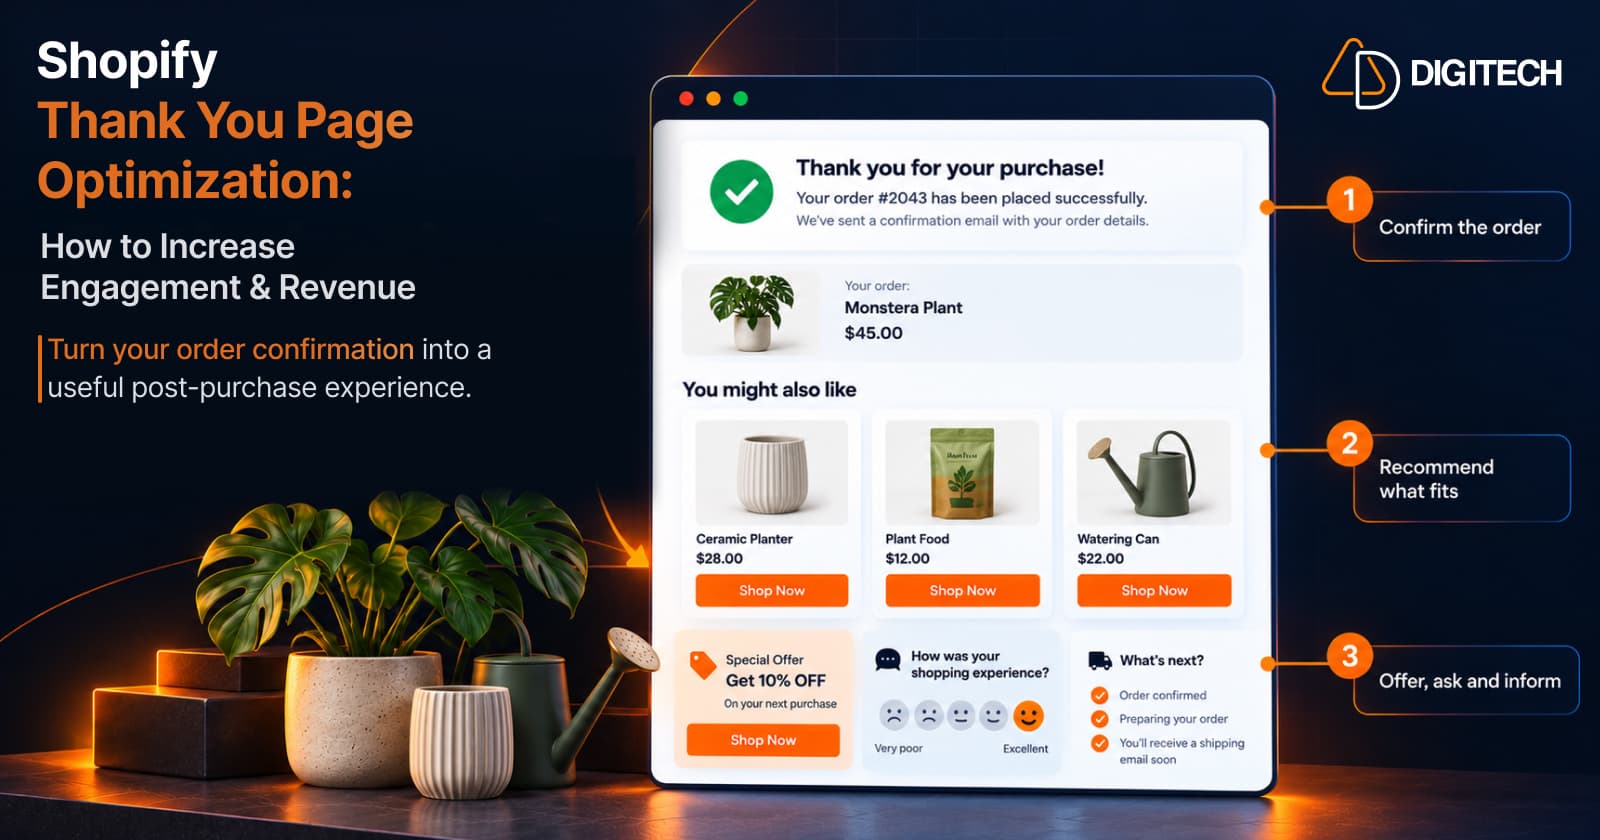
Shopify Thank You Page Optimization: How to Increase Engagement & Revenue
Learn how to optimize your Shopify Thank You Page with recommendations, upsells, bundles, offers and surveys to create a better post-purchase experience.
Read article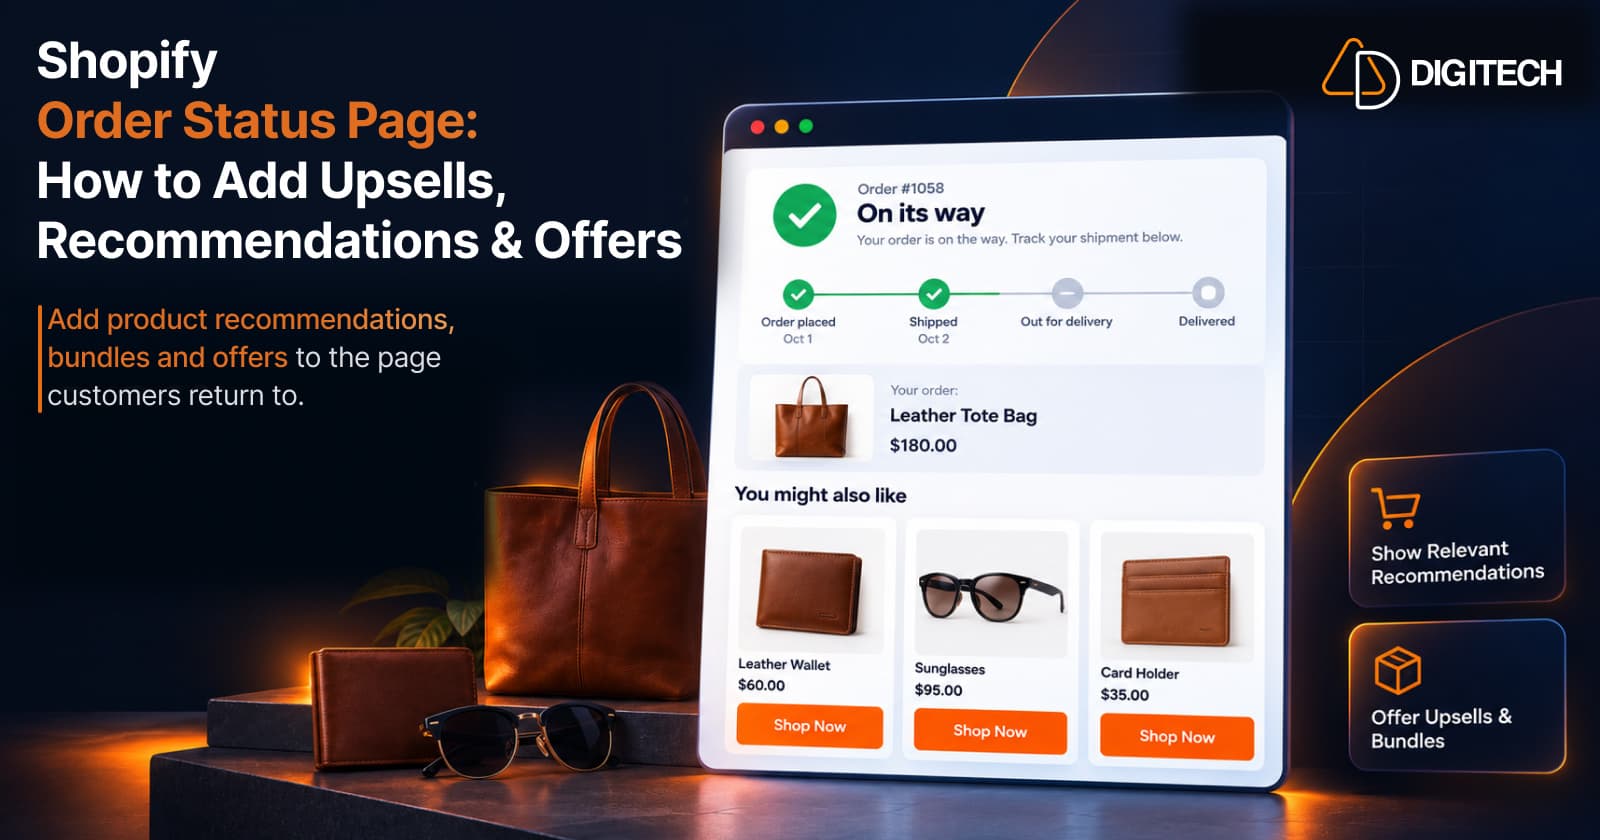
Shopify Order Status Page: How to Add Upsells, Recommendations & Offers
Learn how to customize the Shopify Order Status Page with product recommendations, upsells, bundles and offers to create better post-purchase experiences.
Read article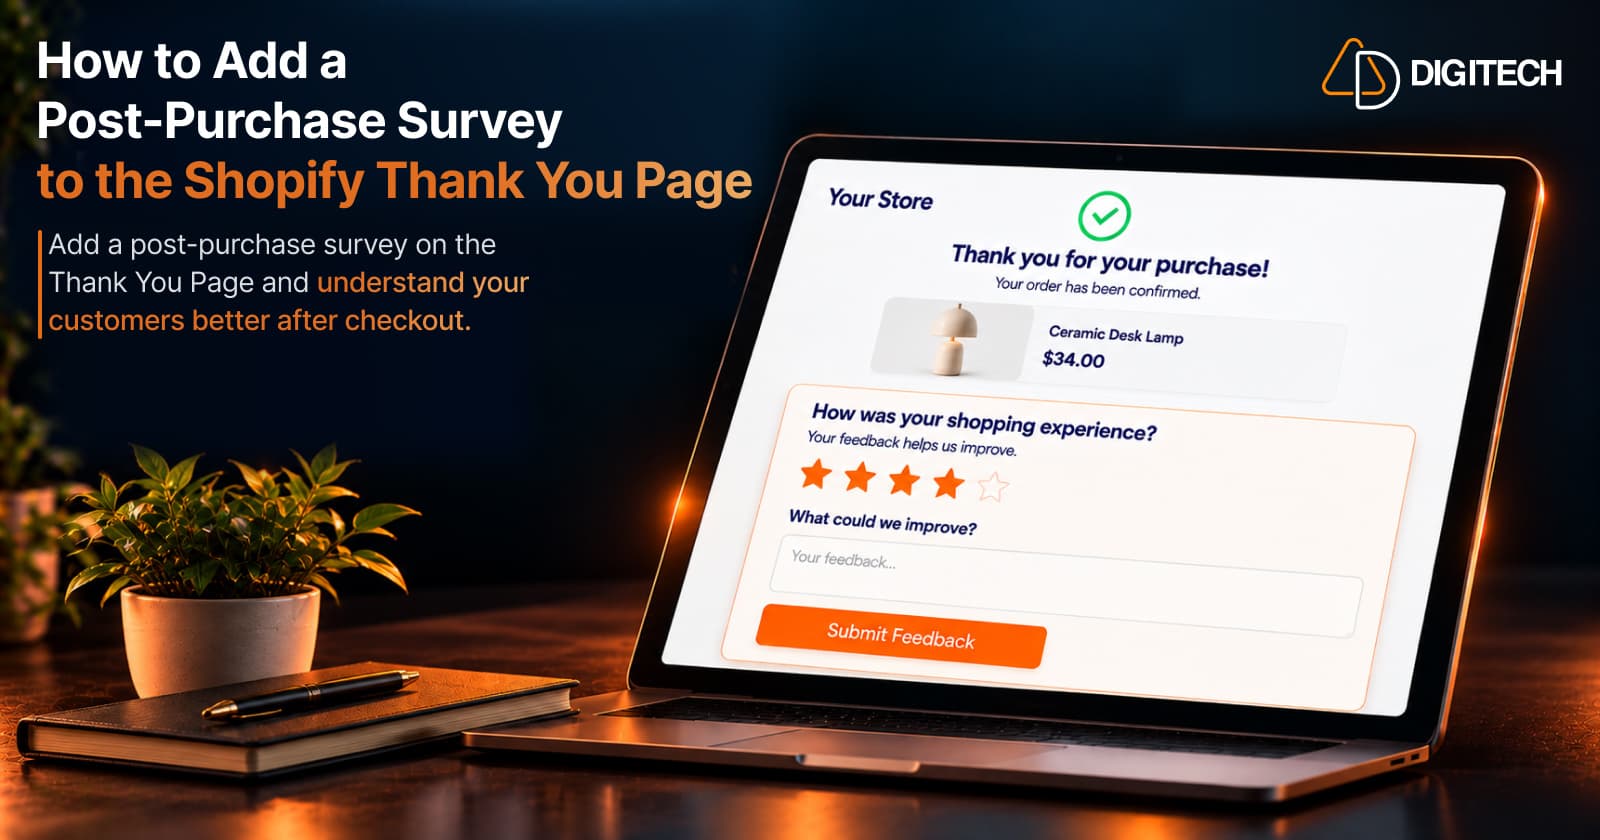
How to Add a Post-Purchase Survey to the Shopify Thank You Page
Learn how to add a Shopify Thank You Page survey, choose better post-purchase questions, collect customer feedback and use responses to improve your store.
Read article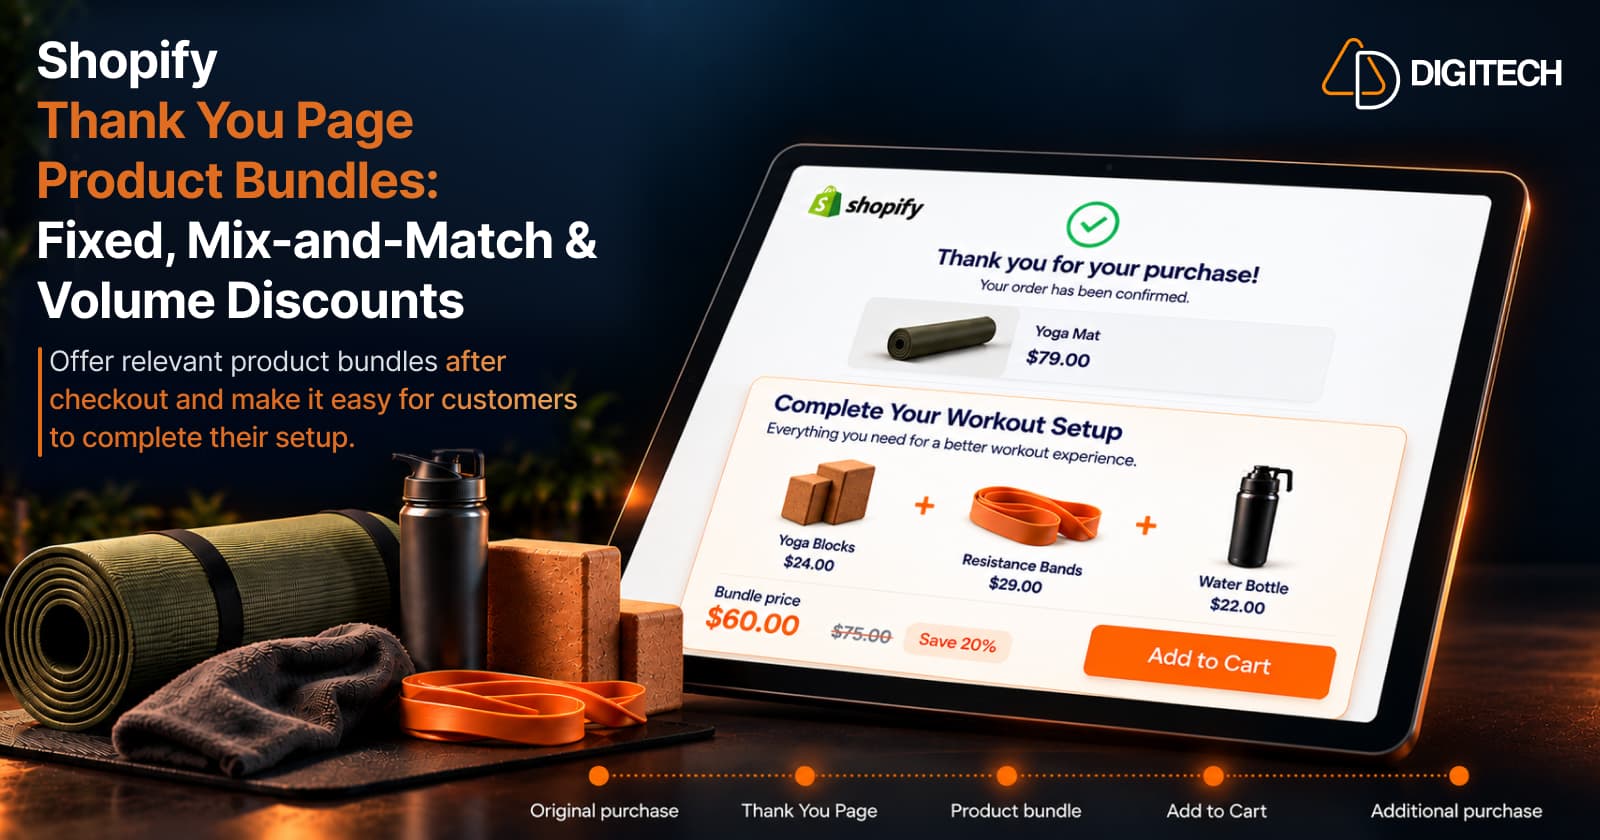
Shopify Thank You Page Product Bundles: Fixed, Mix-and-Match & Volume Discounts
Learn how to use fixed, mix-and-match and volume discount product bundles on the Shopify Thank You Page to create relevant additional purchase opportunities.
Read article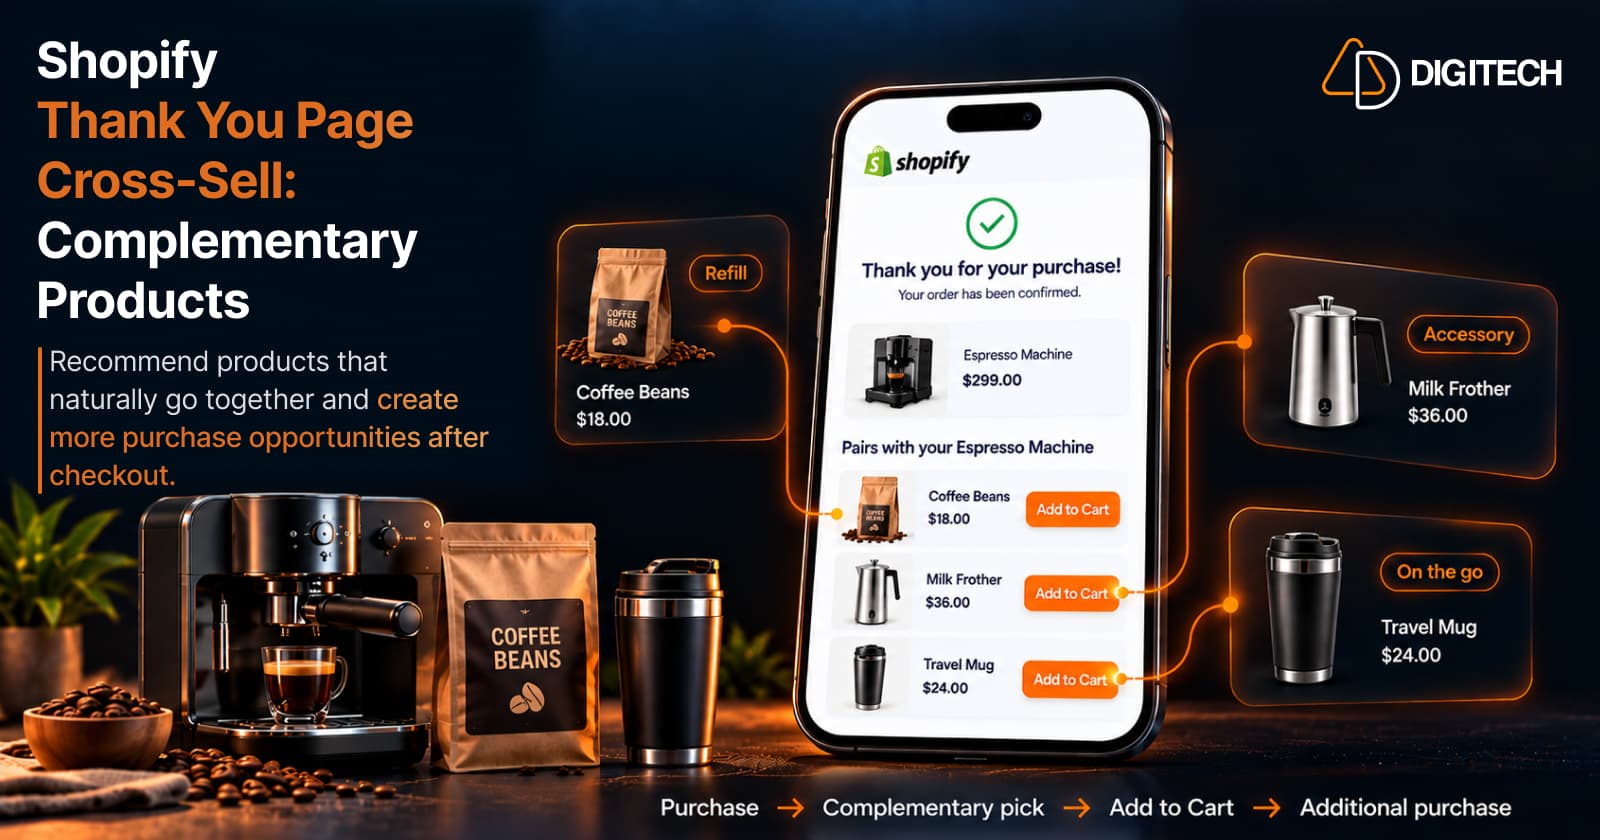
How to Cross-Sell Complementary Products on the Shopify Thank You Page
Learn how to cross-sell complementary products on the Shopify Thank You Page, choose relevant recommendations, and create additional purchase opportunities.
Read article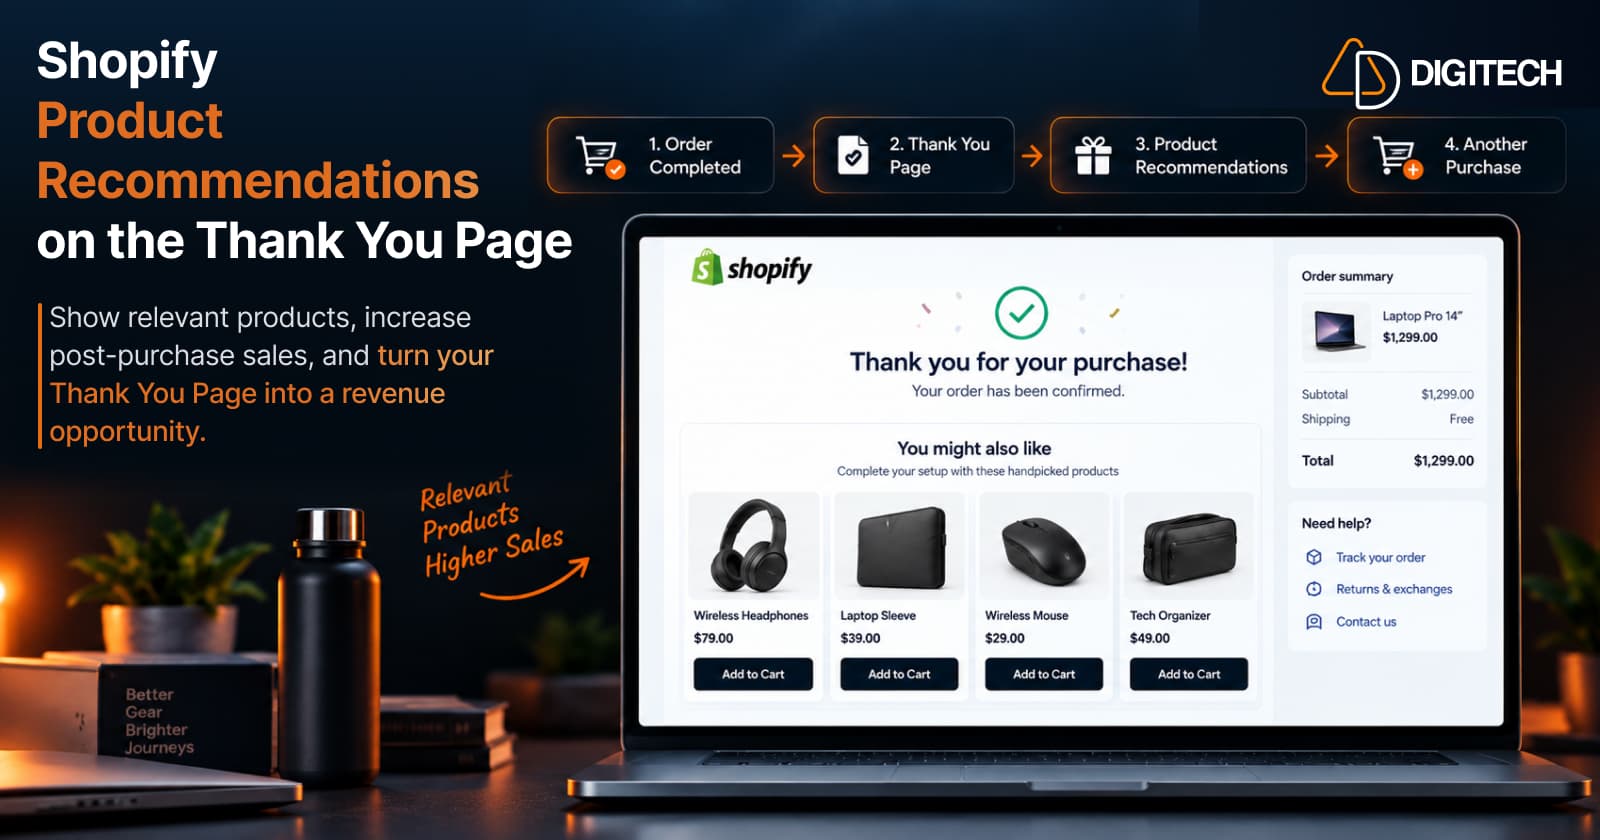
How to Add Product Recommendations to the Shopify Thank You Page
Learn how to add relevant product recommendations to your Shopify Thank You Page, choose complementary products, and improve post-purchase sales opportunities.
Read article